Mobile Vision, Part 3: Image Recognition
Introduction
Welcome to another look at the technology driving innovative solutions in mobile. In the first part of this series, we looked at using face detection to find people in the camera feed. Then in our second article, we looked at augmented reality (AR) and the ability to build a 3D world from your environment. This time around we are going to pull from both of those concepts to talk about image recognition.
Going back to our discussion of face detection, you’ll remember that we were dealing with algorithms that were created to identify faces in our camera feed. The identification looked for human features like two eyes with a nose between them, a forehead above, and a mouth below. This time around, instead of matching anything that looks like a human face, we are going to be looking for a specific picture: our input into the algorithm will be picture and we’ll get a notification when and where that image appears in the camera feed.
Now you’d think that a computer could pretty easily compare a picture from a file and a picture from my camera to tell if they are the same. You’d be correct for the most part, but if we want to recognize every tilt, angle, and skew that the image could take, then things become a bit more complex. And if we want that algorithm to compute the image as a plane (in the algebraic sense) in 3D space and provide us with the pitch, yaw, and roll of that plane? Well, we’ll just have to ramp up the math. But I promise that this is the limit of the math lesson in this article so let’s go look at some examples.
Reference Images
The image we want to look for in the camera feed is called the reference image. Like many things in computer vision, success isn’t black-and-white but instead a broad spectrum from failure to success. In order to get closest to success, we need to try to adhere to some guidelines for reference images.
Reference images work better if they are high-contrast. Finding a puzzle piece in a puzzle is difficult for humans as well as computers so having an image that stands out in various lighting scenarios will help. Black-and-white line art is often used as are graphics involving company logos. Does that mean a photograph can’t be used? Not at all.
A popular use case is a museum where a painting could be a reference image. The key here is that a museum has controlled lighting for the painting. Lighting plays a big part in contrast for a camera. If our reference image was instead a sticker that we were handing out at a trade show or posters stuck up on a wall where we couldn’t guarantee the lighting then we would want to consider a more contrasting image to get us the greatest chance of success.
An Example
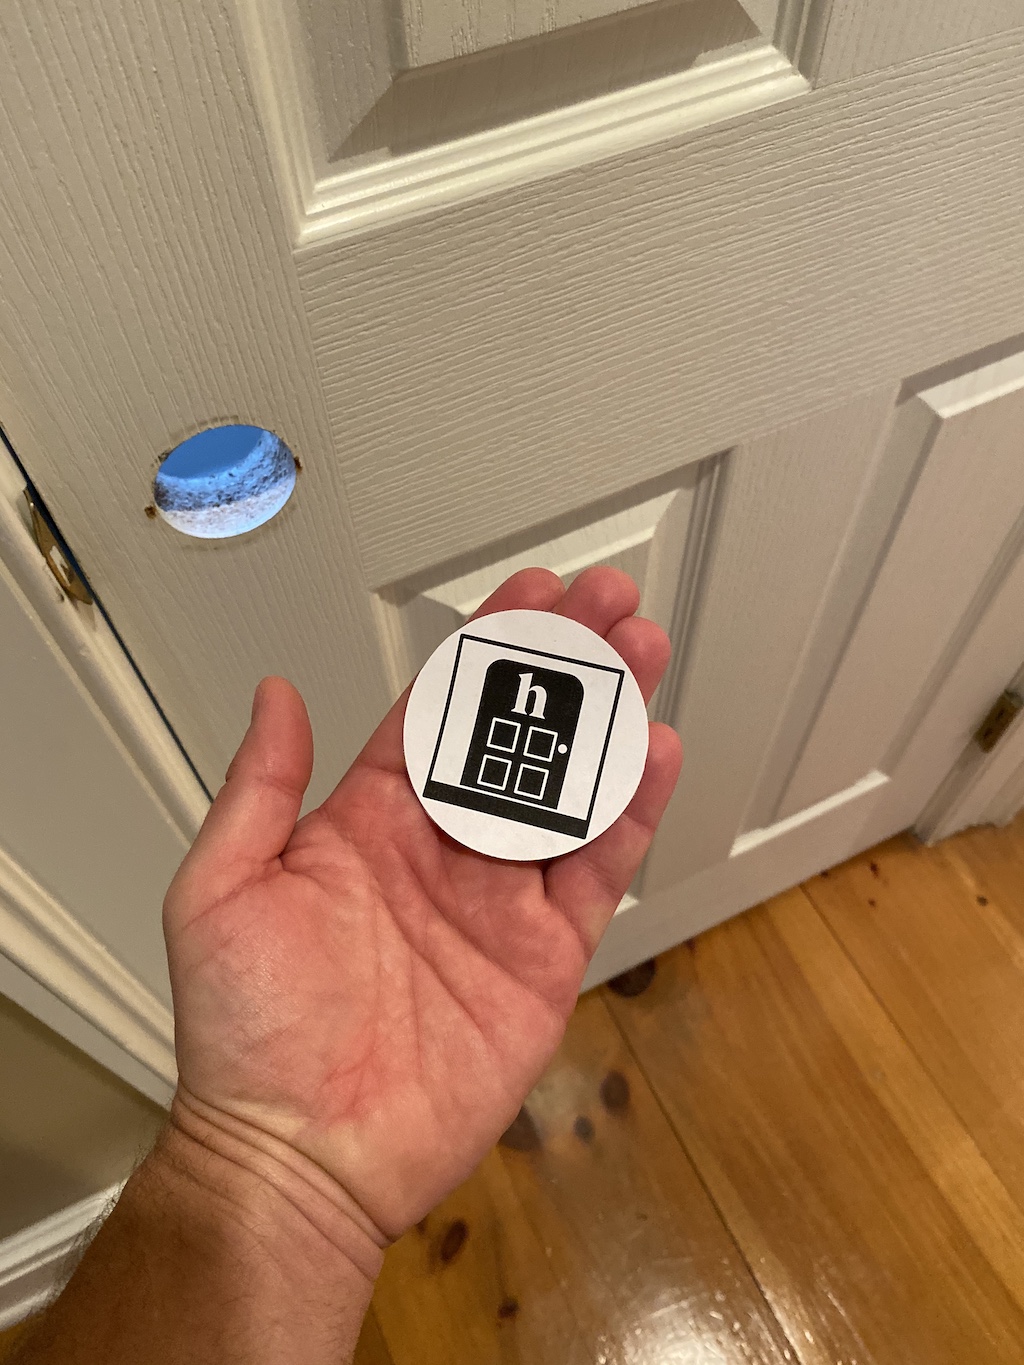
Let’s try taking this into a more concrete example with this premise: we’ll pretend that we are a hardware company selling door knobs and levers and need a way to let users visualize before the purchase. To help people find a knob for their door, our app will allow users to print out our reference image and tape it to their door. They can then use our app to see a knob on their door and explore options.
To give this the most impact to users, we are going to give them an image that they can cut out and tape over the hole in their door, or place above their existing handle to compare. Since reference images need to be square, we’ll place the image inside a circle that roughly matches the size of a knob or handle. Here’s what that gives us:

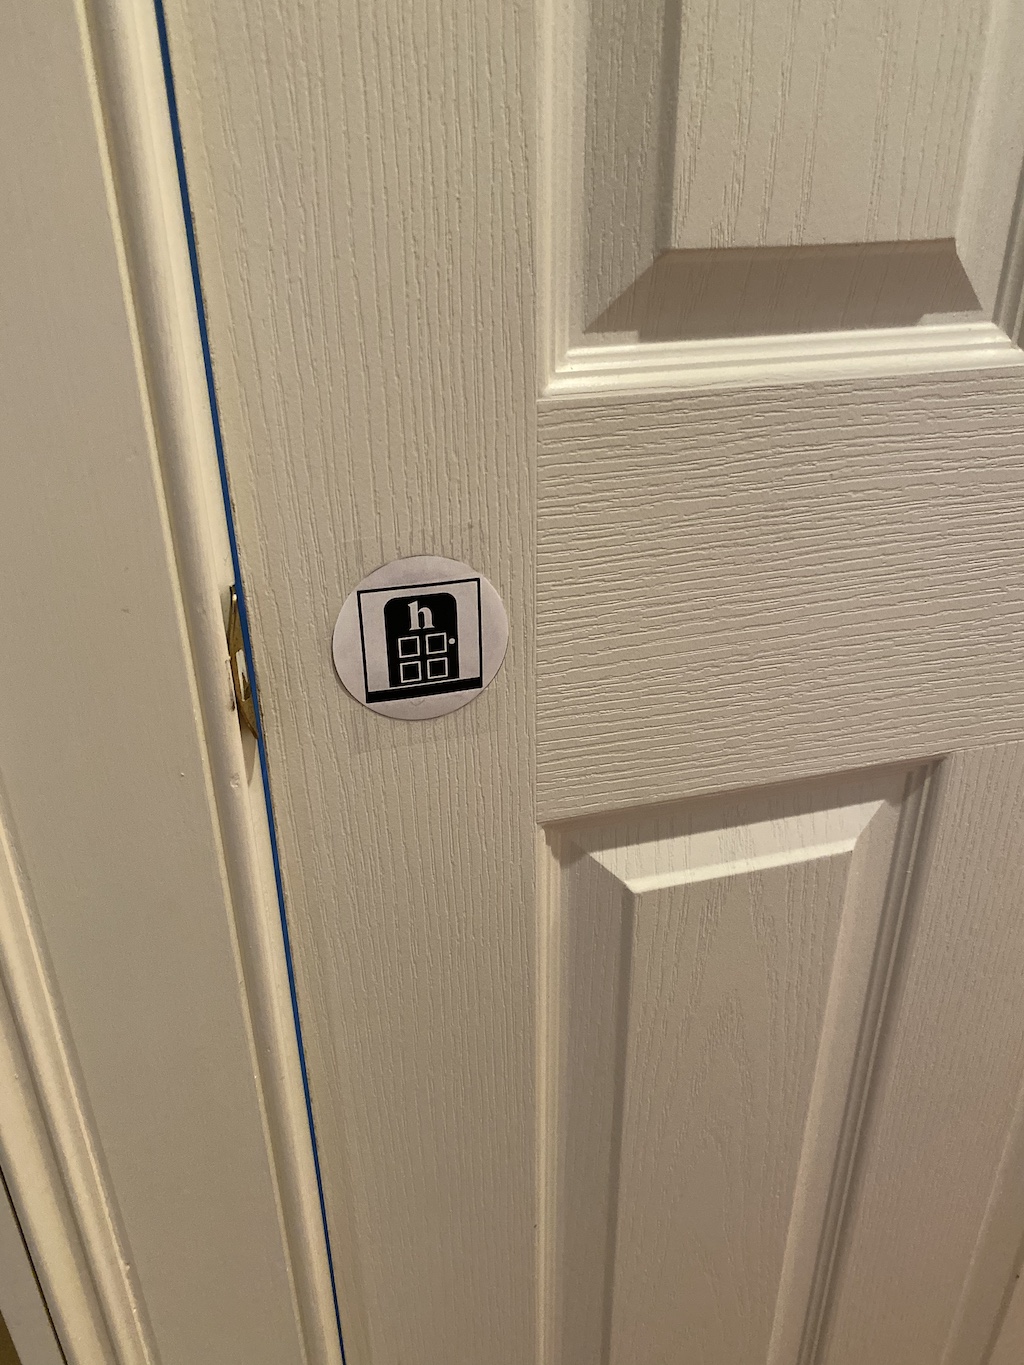
Like many detection and recognition engines, an application developer feeds in parameters and receives a notification when the engine finds a positive result. In this case, our input is the reference image and a positive recognition in the engine results in our application receiving a notification with a plane (a square or rectangle) in 3D space where our image was found. To test this out, we’ll try placing our own square over what we find.
Now that we have basic recognition of our reference image working, we’ll add a model of a door handle. In order to have accurately sized products, we need to make sure that we supply an accurate measurement of our reference image to the recognition engine. Not only does this help size our 3D virtual model to the physical environment, providing the engine with the reference image dimensions will also help it better process and find the image. Here’s a final look at our reference image being replaced by a handle:
Screen Space vs. Virtual Space
We’ll diverge for a bit to talk user experience (UX) in AR and other mobile vision apps. In apps of this nature, the entire screen is occupied by the camera to show content. To give users control, we have two options: screen space or virtual space.
Screen space refers to the interface placed on top of the camera feed. For example, the bottom controls we use to return to previous parts of the app live in screen space. As you move the camera, their position remains constant. Virtual space refers to elements in the augmented camera feed and the interaction we have with them. In virtual space, the controls are only available if the virtual objects and their controls are in view.
In the second part of this series, we placed a chair in our AR environment. We then interacted with virtual space by tapping on the chair and that action produced a control in screen space where we could change the color. In this example, we are taking a different approach where we see a door knob and can tap on it, but are presented with finish controls in virtual space. Tapping on those controls will change the finish of the knob.
Those two experiences are very similar in what they accomplish but the choice to go with screen space or virtual space has pros and cons depending on your app. A UX exploration should happen with each project to determine the best route while keeping users engaged in the experience.
Compare and Combine with AR
Even the most uninitiated would look at the above and question: how is this different than Augmented Reality? The end result is certainly very similar in that the user’s camera feed is overlaid with 3D rendered content. The difference lies in the real world engagement.
We mentioned in our last article that there isn’t an industry standard to the term “AR” and that as companies compete in this space, they will fold in additional capabilities. The above sample, in fact, was created with Apple’s ARKit using an “image tracking” mode instead of the standard “world tracking” mode that you would identify as AR from our last article. Other AR toolsets offer this feature as well.
As app creators, we end up with a single (growing) toolset instead of fragmented tools. Likewise, app UX has nuance instead of radical differences. Think of a classroom with children using an AR education app. Does the app display content on an empty desk, or does the app recognize the images from a textbook and provide additional content? Either are valid experiences depending on the desired engagement.
Let’s end with one more example. In certain cases, these various technologies can be mixed together. Developers can set ARKit to be in “world tracking” mode where floors, walls, and surfaces are detected but also have reference images that will help us anchor items in the scene. In addition to having anchored items, we can then let users place items (matching accessories in this case) in the augmented world.
As with our previous articles, the companion app to this series in the iOS App Store allows you to follow along and try this at home. Simply get the latest version of the app and print out the included reference image to try it on your own.